
Every blog post needs a featured image, and finding or making one is the kind of small, recurring chore that quietly eats your week. So I handed it to the OpenAI image API, and now every post I publish gets a fresh, on-brand featured image without me opening a design tool, one piece of my broader AI agent workflow.
I am a solo developer building in public under softDev23, and I automate the boring parts of publishing on purpose. The image step looked intimidating and turned out to be one of the most satisfying pieces to wire up. This is exactly how it works, including the gotchas that cost me an hour, so they do not cost you one.
Why generate images at all
The honest reason is consistency and time. Stock photos look like stock photos, hunting for the right one breaks my flow, and a custom graphic for every post used to mean either paying someone or doing it myself at midnight.
A generated image solves all three. It is made to order from a prompt, it follows a house style I define once, and it costs a few cents instead of an afternoon. For a one-person blog publishing regularly, that trade is not close. The image stops being a bottleneck and becomes a field that the pipeline fills in.
It will never win a design award, and that is fine. The bar for a blog featured image is that it is relevant, on-brand, and there. Generation clears that bar every time, and I can always swap in something nicer later for the posts that actually take off.
Pick the right model first
Here is the first thing that will trip you up, because it tripped me up. The older image models you have read about in tutorials may not be the ones available to you anymore.
I went in planning to use one of the classic models and got an error saying it did not exist on my account. After listing what my account could actually reach, the only image-capable option was the current generation model. The lesson is to check which models your key can use before you write a line of code, rather than copying a tutorial that is a year out of date. The official OpenAI image generation guide is the source of truth for what is current.
So rule one is do not trust the model name in an old blog post, including, eventually, this one. Ask your own account what it supports.
The gotchas that cost me time
Two specific things ate my time, and both are easy to avoid once you know.
The first was a parameter that used to be required and is now rejected. I kept passing an option that older examples included, and the API kept erroring until I removed it entirely. If a request keeps failing on a parameter, try deleting it rather than tweaking it, because the API surface changes and old required fields become forbidden ones.
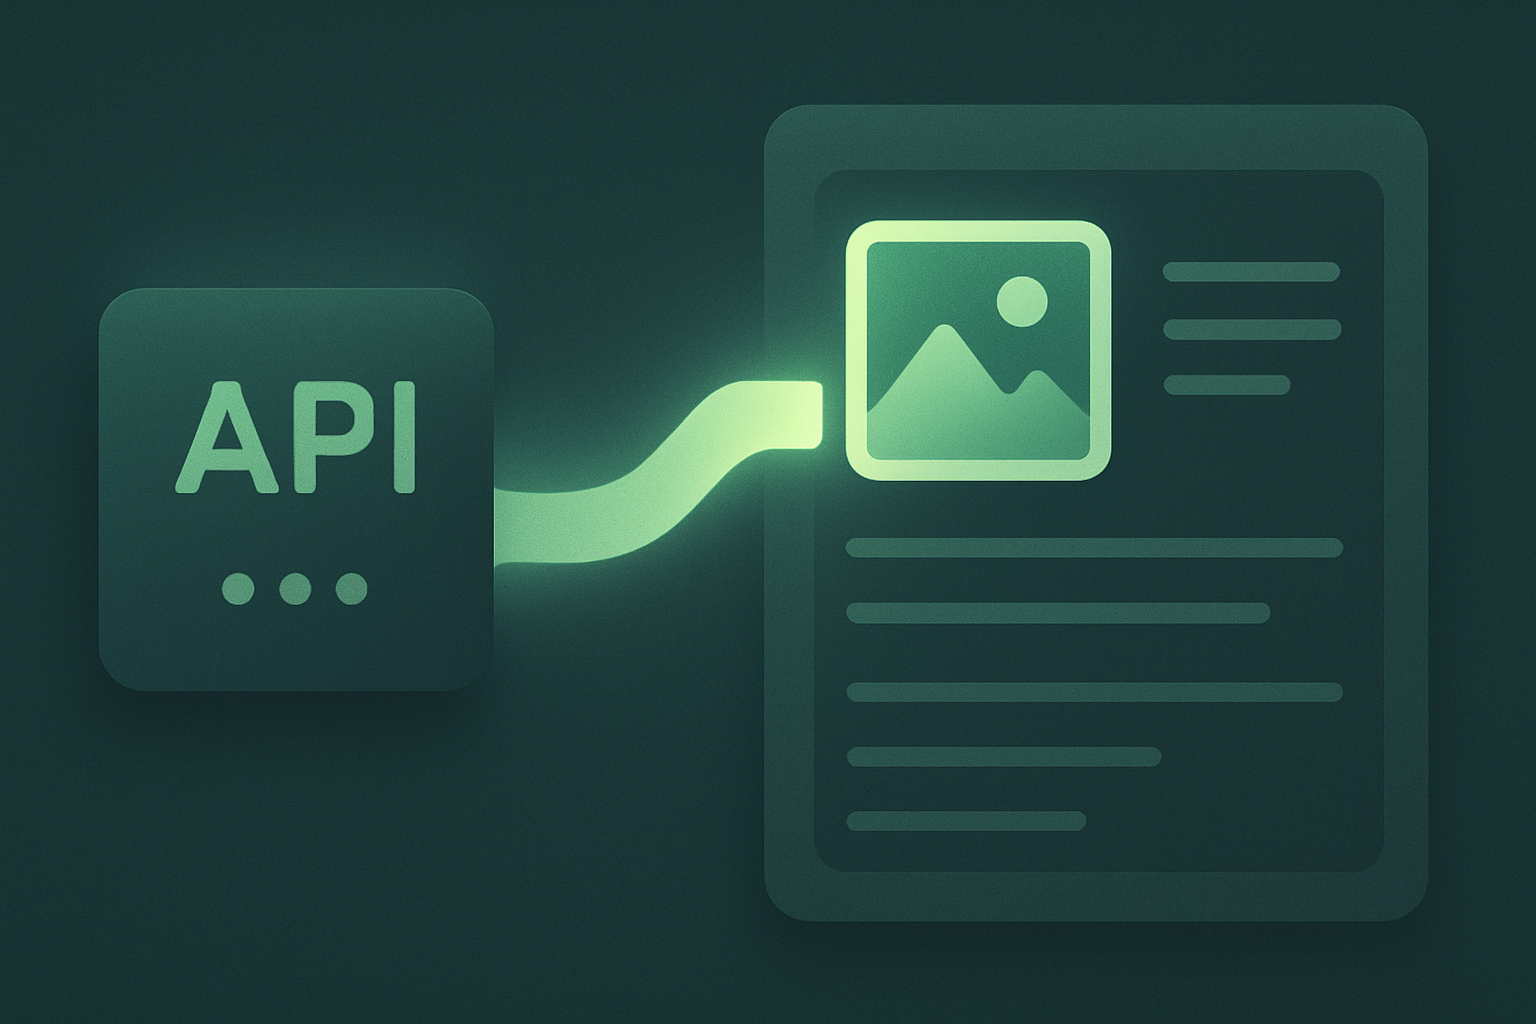
The second was the response format. The current model hands back the image as base64 data in the response, not as a link to go fetch. That actually simplifies things, because I can take that data straight to the next step without a separate download. But if you are expecting a URL and got a wall of base64, that is why. Read what the response actually contains before assuming the shape.
Wiring it into WordPress
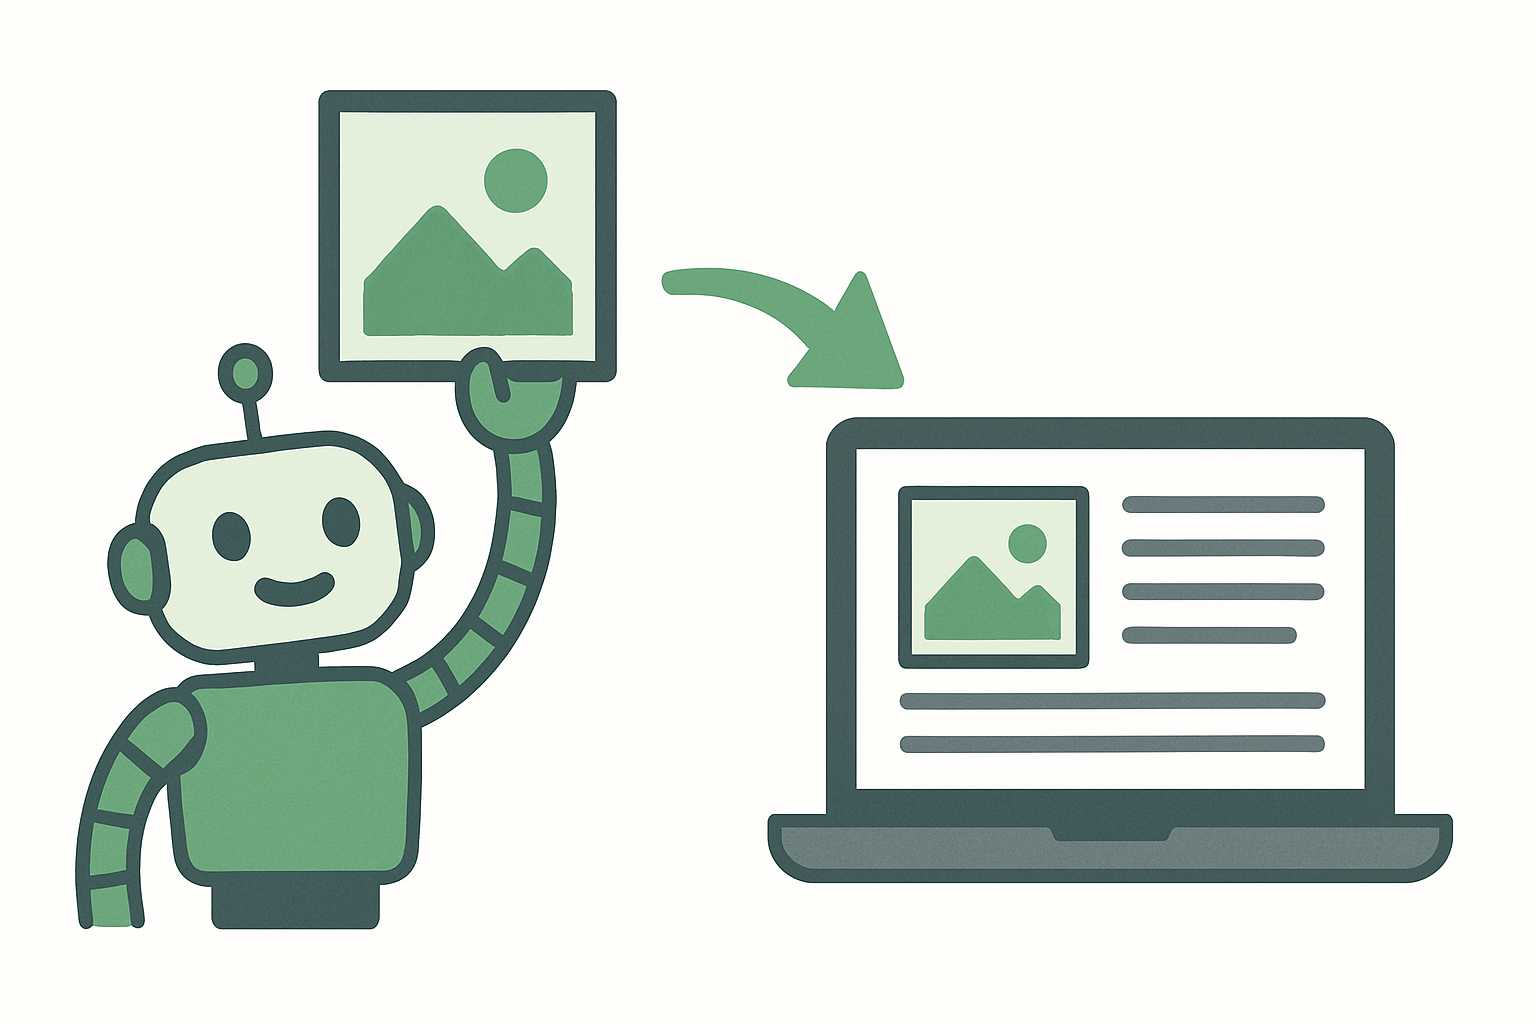
Once the image generates, the rest is plumbing, and it reuses the same approach as the rest of my publishing system. The generated image data goes straight to the WordPress media library as an upload, and then a second request sets descriptive alt text on it.
That alt text step matters more than it looks. An image with no alt text is bad for accessibility and a missed SEO signal, so I set it from the same data that generated the picture. The image arrives named, described, and ready, not as a nameless file I have to fix later.
This whole step lives inside the larger publisher I describe in my post on n8n WordPress automation. The image generation is just one node in that chain. Generate, upload, set alt, and hand the media back to the post being created, all in a single run.
Prompts and a house style
A generated image is only as good as the prompt, so I do not write a fresh one from scratch each time. I keep a house style, a short description of the look I want across the whole blog, and feed it the same way in every post.
That gives the blog a consistent feel, even though every image is new. Flat vector, a fixed palette, soft glow, no text baked into the image. Defining it once means I am not redeciding the aesthetic on every post, and the results hang together as a set rather than looking like five different blogs.
The no-text rule is worth calling out. Image models are still unreliable at rendering words, so asking for text in the picture is asking for garbled letters. I keep all the words in the actual post and let the image be purely visual. That one constraint removes most of the ugly failures.
Size and quality, set once
A couple of settings are worth deciding deliberately rather than leaving them on default. The size and the quality both affect how the image looks in your layout and how much each one costs.
For a blog featured image, a wide landscape shape fits the way most themes crop the header, so I generate it at a landscape size instead of a square. Getting this right at generation time means the theme is not awkwardly cropping the interesting part out of a square later. Match the shape to where the image will actually live.
Quality is a direct trade against cost. A higher setting looks a little crisper and costs a little more per image. For featured art that mostly sits at the top of a post, a middle-quality setting is plenty, and I would rather spend the difference on volume than on pixels nobody is zooming into. You can always regenerate a single post’s image at a higher quality if it earns attention.
Accessibility is not a nice-to-have
I mentioned alt text already, but it is worth its own point, because it is the step people skip when they automate images, and it is the one that matters most for real users.
Alt text is how screen readers describe your image to people who cannot see it, and it is also a signal that search engines read. An automated image with no alt text is worse than no image in some ways, because it adds weight with zero meaning. So the pipeline always sets a plain, descriptive sentence, generated from the same prompt that made the picture.
The rule I follow is to describe what the image shows, simply, as if explaining it to someone on the phone. No keyword stuffing, no clever phrasing. Just an honest description, set automatically, every time.
Keep a human eye on the result
Automating the image does not mean ignoring it. Generation is good, not perfect, and every so often it returns something off, a weird composition or a vibe that does not match the post.
So I still glance at each image before the post goes live. It takes seconds, and it is the cheap insurance that keeps a strange picture from going out under my name. The automation removes the work of making the image. It does not remove my responsibility for what readers see.
This is the same line I draw everywhere in my publishing system. The machine does the labor, and I keep the final yes. For images, that means a quick look and the freedom to regenerate with a tweaked prompt or swap in something custom on the rare post where it matters. Most of the time, the first result is fine. The point is that I checked, not that I trusted blindly.
What the OpenAI image API costs
The cost per image is small, on the order of a few cents at the quality I use. Across a normal publishing schedule, that is a rounding error, especially measured against the time it replaces.
The real value is not the money, though. It is a step that used to stall me, but now happens automatically and never blocks a post from shipping. The same logic runs through everything I have automated, like the lean set of tools in my post on the best MCP servers for Claude Code. Each small automation removes one more reason a post might not go out.
If you publish regularly and the featured image is a chore you dread, the OpenAI image API is a genuinely easy win. Confirm which model your account can use, expect the response as base64, set the alt text in the same step, and define a house style once. Do that, and you will never stare at an empty image slot again, because the pipeline already filled it.