
If you want to know how to add an OpenAI API key to an n8n node, the short version is this. You create the key in your OpenAI account, save it once as an n8n credential, and then select that credential from any OpenAI or AI Agent node. You do not paste the key into the node itself.
That last part trips up almost everyone the first time, including me. n8n keeps API keys in a separate credential store, not in the node settings where you would expect them.
I run softDev23 as a solo developer, and n8n is the automation tool behind a lot of what I do. So I have set this key up more than once, broken it a few times, and learned where the sharp edges are. It is also the same tool I use to give an AI agent access to my Obsidian vault, which I walked through separately in connecting Obsidian to n8n over MCP.
This post walks through the whole thing. Where to get the key, where it actually goes in n8n, and the small gotchas that waste an afternoon if nobody warns you about them.
Add the OpenAI API key to an n8n node by saving it as a credential first
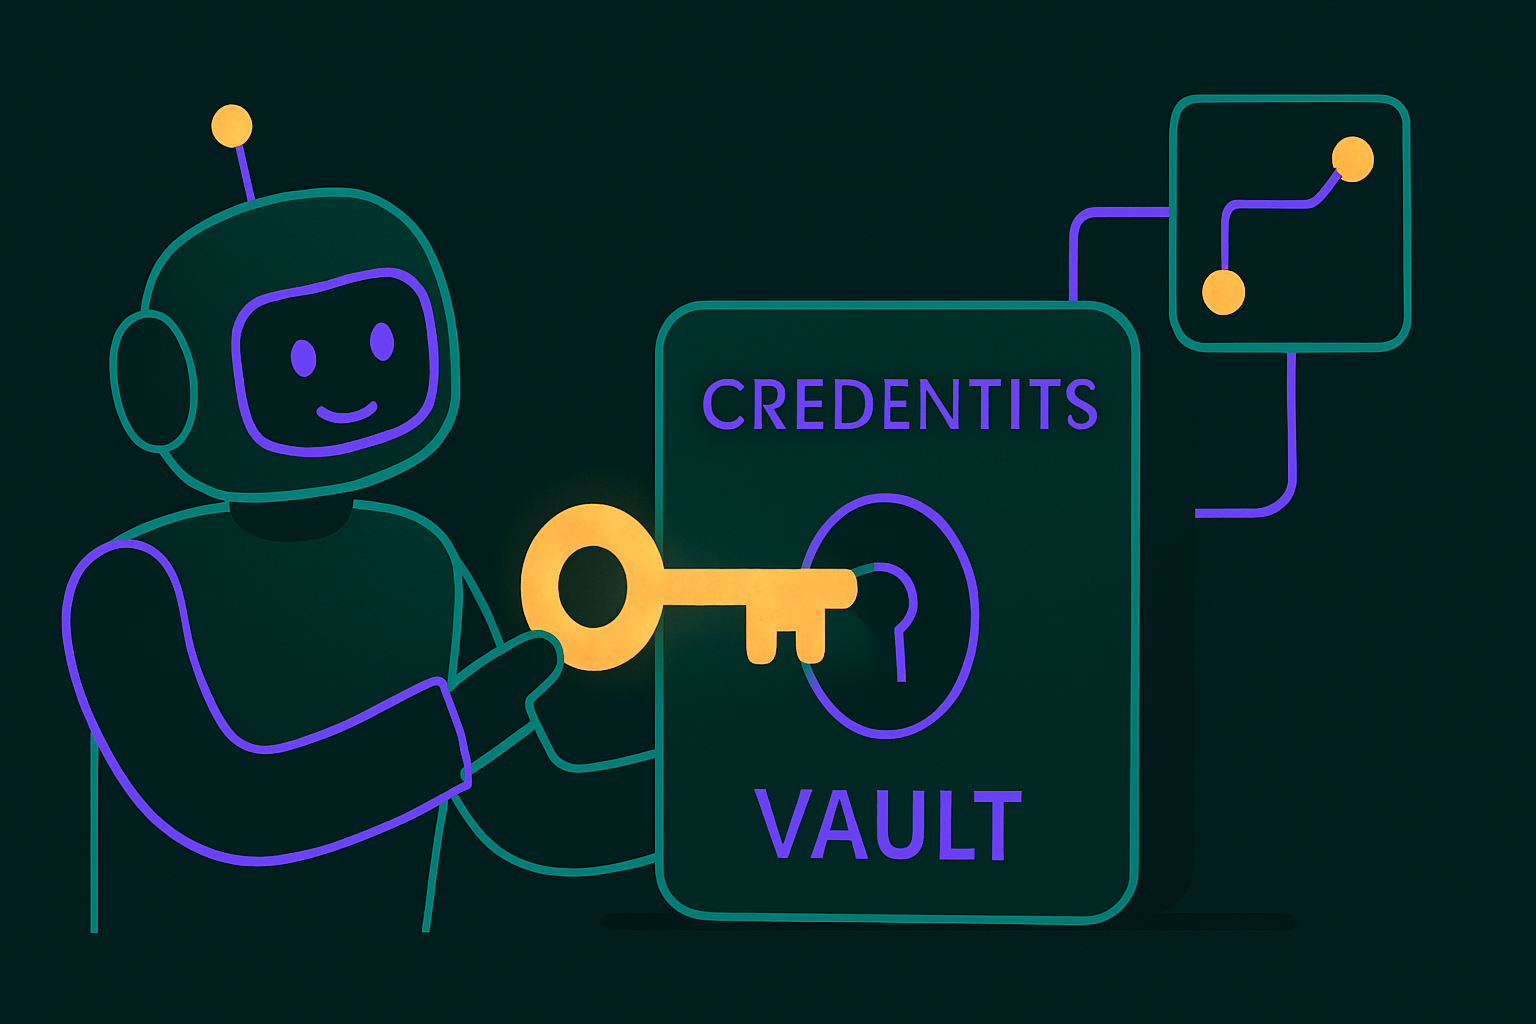
The correct way to add an OpenAI API key to an n8n node is to save the key as a credential, then point the node at that credential. The key lives in n8n’s credential store, encrypted, and the node just references it.
This is different from most simple tools, where you paste a key directly into a settings box. n8n separates credentials from nodes on purpose, so one saved key can power many nodes without you copying it around.
So before you touch a single node, you need two things. An OpenAI API key, and a clear idea of where n8n hides the credential screen.
Once both of those are in place, the actual connection takes about a minute. Most of the pain is in the setup and the gotchas, not the clicking.
Step 1: Create the API key in your OpenAI account
First, generate the key on OpenAI’s side. You cannot make this key inside n8n. It comes from your OpenAI platform account.
Go to platform.openai.com/api-keys and sign in. This is the API platform, which is a different area from the normal ChatGPT chat interface, so make sure you are on the platform site and not just logged into ChatGPT.
On that page, click the button to create a new secret key. Give it a name you will recognize later, something like “n8n automation,” so future you knows what it is for.
When the key appears, copy it immediately. OpenAI shows the full key exactly once. After you close that window, you can never see the whole key again, only the last few characters.
If you lose it, that is fine. You just delete the old key and make a new one. But you cannot recover the original, so paste it somewhere safe for the next two minutes while you finish the setup.
One more thing that catches people. An API key is not the same as a ChatGPT Plus subscription. The API is billed separately and usually requires its own payment method and credit. If your key returns a quota error later, this is almost always why, and I will come back to it in the gotchas.
Step 2: Open the credentials area in n8n
Next, create a new credential in n8n. This is the screen most people cannot find on the first try, because it is not inside the node.
In n8n, look at the left sidebar. There is an “Overview” area, and within it a tab labeled “Credentials.” Click that, then click the “Add credential” button, usually in the top right.
A search box appears asking which credential type you want. Type “OpenAI” and select “OpenAI API” from the list. Do not pick a Google or Azure option by mistake, since those look similar but expect different keys.
You will now see a form with a field for the API key. This is where the key from Step 1 goes. Paste the full key into that field.
That is the actual answer to where the key lives. Not in the node, but in this credential. The node will borrow it.
If you are self-hosting n8n, the same screen exists. The location does not change between the cloud version and a self-hosted install, which is one of the few things that stays consistent across setups.
Step 3: Save and name the credential
Now save the credential and give it a clear name. n8n will often test the connection for you when you save, which is a quick way to know the key works before you build anything.
Name it something obvious like “OpenAI – softDev23” or “OpenAI main.” If you ever run more than one OpenAI account or key, clear names are the only thing that keeps you from selecting the wrong one at 11pm.
When you click save, n8n encrypts and stores the key. From this point on, you do not handle the raw key again. You just choose this credential by name wherever you need it.
If the save fails with an authentication error, the key is wrong or incomplete. The most common cause is a partial paste, where a character got cut off at the start or end. Delete it and paste the whole thing again.
Step 4: Select the credential inside your OpenAI node
Finally, connect the node to the credential. This is the step that makes the whole thing actually run.
Add an OpenAI node, or an AI Agent node, to your workflow on the canvas. Click it to open its settings. Near the top you will see a “Credential to connect with” dropdown.
Open that dropdown and pick the credential you just saved. That is the entire connection. The node now has access to your key without the key ever appearing in the node itself.
This is the part that confuses first-timers. You go looking for an API key field in the node, do not find one, and assume something is broken. Nothing is broken. The key field only exists on the credential, and the node references it through that dropdown.
If you build an AI workflow with several OpenAI nodes, each one points at the same saved credential. You set the key up once and reuse it everywhere, which is the whole reason n8n separates the two.
The gotchas that actually waste your time
Most of the trouble with this setup is not the connection. It is a short list of predictable problems that all look like “the key is broken” when they are not.
Gotcha 1: the quota error that is really a billing error
The most common failure is an “insufficient_quota” or 429 error, and it almost never means you did the n8n part wrong. It means your OpenAI account has no API credit or no active payment method.
The API does not run on your ChatGPT subscription. You add billing separately in the OpenAI platform under the billing section. Until there is credit or a card on file there, every call fails no matter how perfectly the credential is set up.
So if your key saved fine but calls error out, check billing before you touch n8n again. I have wasted real time re-pasting a key that was never the problem.
Gotcha 2: the model name has to exist
If you get a model-not-found error, the model name in the node does not match a model your account can use. Model names change, and old ones get retired.
Check the current model list in the OpenAI models documentation and use an exact, current name. A typo or a deprecated model both produce the same unhelpful error.
Gotcha 3: the AI Agent node expects a chat model, not the basic node
n8n has more than one way to call OpenAI. There is a straightforward OpenAI node, and there is the newer AI Agent setup that uses a separate chat model sub-node.
If you are wiring up an agent, the OpenAI credential attaches to the “OpenAI Chat Model” node that feeds the agent, not to the agent node directly. People connect the key to the wrong block here and cannot figure out why the agent will not run.
The credential is the same either way. You just attach it to the chat model node in the agent setup. If you are using a chat trigger to start the workflow, the trigger and the model are still separate pieces, so check each one has what it needs.
Gotcha 4: self-hosted encryption key mismatches
If you self-host n8n and later move it, restore a backup, or change the environment, your saved credentials can suddenly fail to decrypt. This is because n8n encrypts credentials with an encryption key tied to your instance.
If that underlying key changes, the stored OpenAI credential becomes unreadable and you have to re-enter it. It is not lost data exactly, but you will be pasting the API key in again. Knowing this in advance saves a confusing afternoon.
Gotcha 5: rotating keys without breaking workflows
When you rotate or replace a key, do not delete the old credential. Edit it. Open the existing credential, paste the new key over the old one, and save.
Because every node references the credential by name, editing it in place updates all of them at once. If you delete the credential and make a new one instead, every node that used the old one loses its connection and has to be re-pointed by hand.
Why I keep my keys in n8n credentials and not in nodes
Keeping keys in credentials instead of scattered through nodes is a security habit, not just an n8n quirk. One encrypted store is easier to protect and rotate than a key copied into ten places.
This matters more as your automations grow. I treat n8n as the hub that holds the keys for my content and automation work, which means there is one place to audit, one place to rotate, and one place that can leak if I am careless.
I wrote about how this fits into my wider setup in my post on building an agentic operating system, because the credential model is part of why I trust n8n with this in the first place. The same principle shows up in how I connect AI tools to the rest of my stack.
If you are building a content pipeline or any AI workflow, get this habit early. Keys in credentials, never in nodes, named clearly, rotated in place. It is boring, and boring is what you want from the part of your system that holds the secrets.
The whole thing in one paragraph
Here is how to add an OpenAI API key to an n8n node, start to finish. Create the key at the OpenAI platform and copy it once. In n8n, go to Credentials, add an “OpenAI API” credential, paste the key, name it, and save. Then in your OpenAI or chat model node, pick that credential from the “Credential to connect with” dropdown. If something fails, check billing first, then the model name, then whether you attached the credential to the right node.
That is the part nobody tells you cleanly. The key does not live in the node. It lives in a credential the node borrows. Once that clicks, the rest is easy, and you only ever set it up once.
If you are wiring OpenAI into a bigger automation, this credential is the foundation everything else sits on. Get it solid, name it well, and you can stop thinking about it and go build the actual workflow.