
If you want to know how to make a remote vault in Obsidian, the honest answer is that there is no single “remote vault” button. You make a normal local vault, then back it with something that lives off your machine. The cleanest version for me is a vault stored in a Git repository.
That sounds more complicated than it is. A vault is just a folder of Markdown files, so making it “remote” means syncing that folder to a place you can reach from anywhere.
I run softDev23 as a solo developer, and my Obsidian vault is where almost everything that is not code actually lives. App plans, decisions, the rules my AI follows, all of it. Making that vault remote is also step one for hooking it up to an AI agent, a separate setup I cover in how to connect Obsidian to an AI agent through MCP.
So losing that vault, or being locked out of it on a second machine, is not a minor inconvenience. This post is how I set mine up to be remote, backed up, and readable from more than one device, without paying for anything I did not need.
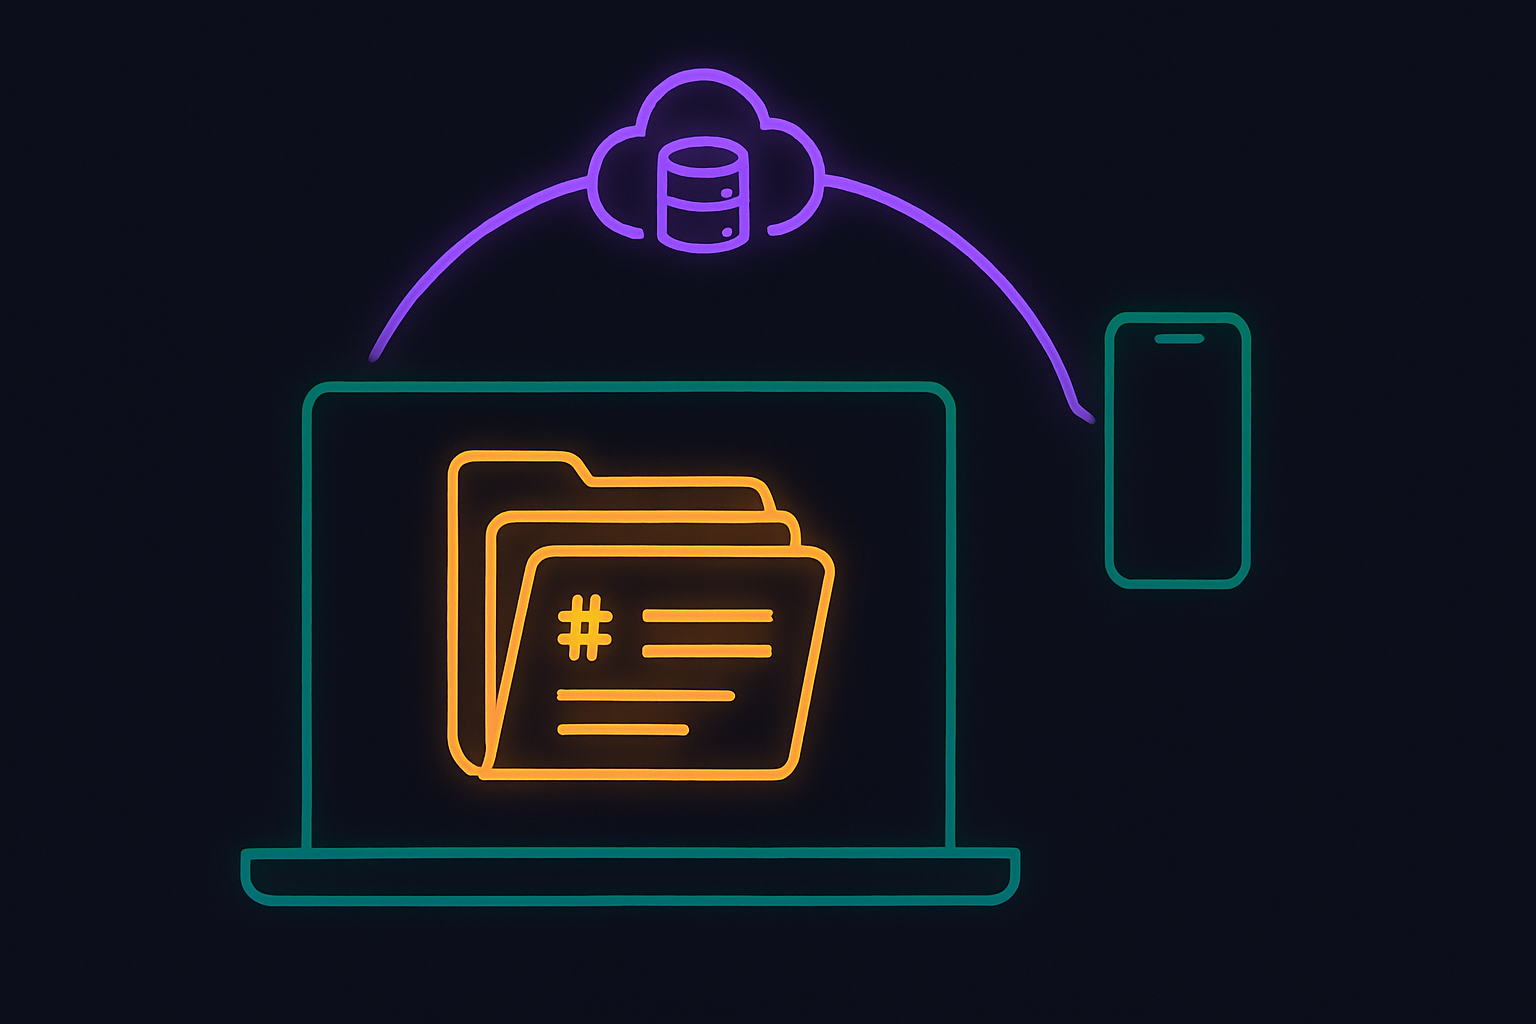
A remote Obsidian vault is a local folder synced to somewhere off your machine
The first thing to understand is that Obsidian does not have remote vaults in the way you might picture. Every vault is a local folder. “Remote” is a property you add by syncing or backing up that folder, not a different kind of vault.
This matters because it changes the question. You are not hunting for a hidden setting. You are choosing how to get a plain folder of files onto another device or a server.
That reframing is what made it click for me. Once I stopped looking for a “go remote” toggle, the options became obvious. A sync service, a cloud drive, or a Git repository.
All three give you a remote copy. They just differ in cost, control, and how well they play with version history and AI tooling.
The three real ways to make a remote vault in Obsidian
There are three practical ways to make a remote vault in Obsidian, and each fits a different person. Official Obsidian Sync, a cloud drive like iCloud or Dropbox, or a Git repository.
Official Obsidian Sync is the paid, no-fuss option. You turn it on, sign in on each device, and your vault stays in step. It is end-to-end encrypted and built specifically for Obsidian, so it handles conflicts and mobile well. If you want it to just work and you do not mind paying, this is the least painful path.
A cloud drive is the free-ish middle ground. You put your vault folder inside iCloud Drive, Dropbox, or similar, and let that service sync the files. It works, but sync conflicts can get messy if two devices edit at once, and these services were not designed for many tiny Markdown files changing constantly.
A Git repository is the one I use. Your vault becomes a Git repo, and you push it to a remote host like GitHub. You get real version history, free private storage, and a format that scripts and AI agents can reach. The tradeoff is that Git has a learning curve, especially on mobile.
None of these is wrong. The right pick depends on whether you value zero effort, zero cost, or maximum control and history.
Why I chose a Git-backed vault
I chose Git because I wanted version history and AI access, not just a backup. A cloud drive copies your current files. Git keeps every version, every change, and lets me roll back if something goes wrong.
That history has saved me. When a plugin or a bad edit scrambled notes, I could see exactly what changed and restore the good version instead of guessing.
The second reason is bigger for how I work. My vault is plain Markdown in a Git repo, which means an AI agent can clone it, read it, write to it, and commit changes the same way a developer would.
That is the whole foundation of my setup. I wrote about building an agentic operating system on top of this vault, and none of it works without the vault being plain files in version control. A Git-backed vault is not just remote, it is programmable.
The cost matters too. A private GitHub repository is free, and it holds far more text than I will ever write. So I get remote storage, full history, and AI access without a subscription.
The honest downside is that Git is the least beginner-friendly of the three. On desktop it is manageable. On mobile it takes a dedicated plugin and some patience, which I will get to.
How to make a remote vault in Obsidian with Git, step by step
Here is the actual setup I use to make a remote vault in Obsidian with Git on desktop. It is a one-time process, and after that it mostly runs itself.
Step 1: Create the vault as a normal folder
Open Obsidian and create a new vault, or use an existing one. Note exactly where the folder lives on your computer, because you will point Git at that folder. On a Mac it is often in your Documents or a folder you chose during setup.
This is just a normal Obsidian vault at this stage. Nothing remote yet. You are about to wrap it in version control.
Step 2: Turn the folder into a Git repository
Install Git if you do not already have it. Then, in a terminal, navigate into your vault folder and run the standard commands to initialize a repository and make your first commit.
If the terminal is not your comfort zone, a desktop Git client like GitKraken or GitHub Desktop does the same thing with buttons. You point it at your vault folder, and it sets up the repository for you.
Before your first commit, add a gitignore file that excludes the Obsidian workspace cache files. Those change constantly and create noisy, pointless commits if you track them. This one small step keeps your history clean.
Step 3: Push to a private remote repository
Create a new private repository on GitHub, or your host of choice. Keep it private, since your notes are yours.
Then connect your local vault repo to that remote and push. Now there is a full copy of your vault sitting off your machine, with history. That copy is the “remote” part of your remote vault.
From here, your workflow is commit and push when you finish working, and pull when you sit down at another device. That is the entire loop.
Step 4: Add the Obsidian Git plugin so you are not living in the terminal
Install the community plugin called Obsidian Git from inside Obsidian. Go to Settings, then Community plugins, browse for “Obsidian Git,” install it, and enable it.
This plugin lets you commit, push, and pull from inside Obsidian, and it can auto-commit on a schedule. So you get the benefits of Git without opening a terminal every time. For day-to-day use, this is what makes a Git-backed vault actually pleasant.
I have it set to commit automatically every so often and on close, so my remote copy is rarely far behind. If you forget to commit manually, the plugin has your back.
Getting a remote vault onto mobile
Mobile is where each method shows its true cost, and it is worth knowing before you commit. The desktop setup is the easy part.
Obsidian Sync wins on mobile by a wide margin. It is built for it, so phones and tablets just stay in sync with no extra work. If mobile is your main device, this alone can justify paying for Sync.
A cloud drive is workable on mobile but fiddly, and iOS in particular is awkward about syncing folders of many small files reliably. You may hit delays or the occasional conflict.
Git on mobile is possible with the Obsidian Git plugin, but it is the most manual of the three. You typically pull when you open the app and push when you finish, and large or frequent changes can be slow. It works, and I use it, but I will not pretend it is seamless.
So if you go the Git route for its history and AI access, accept that mobile is the weak spot. For me the tradeoff is worth it because my serious work happens on desktop, and the phone is mostly for quick reads and small edits.
Keep one backup that is not just sync
One rule worth following no matter which method you pick. Sync is not the same as backup. If a bad edit or a sync conflict deletes notes, a pure sync service can happily copy that deletion everywhere.
This is the quiet advantage of the Git approach. Because Git keeps history, a deletion is recoverable. With a plain cloud drive, once the deletion syncs, your safety net depends entirely on that service’s own version history, which varies.
So even if you choose Sync or a cloud drive for convenience, consider a periodic separate backup of the vault folder. I treat the Git history as my backup and my sync at the same time, which is one of the main reasons it won.
I learned this lesson the hard way thinking about how easy it is to lose work, which is also why I am careful about treating chat tools as storage. Your notes deserve a real home, not a tab you might close.
Which method should you actually pick
Pick based on what you value most, because there is no universal best answer. The three options trade effort, cost, and control against each other in clear ways.
Choose Obsidian Sync if you want it to just work, you use mobile heavily, and you are fine paying. It is the smoothest path and the one I would recommend to someone who does not want to think about any of this.
Choose a cloud drive if you want free and simple, you are mostly on one or two desktops, and you do not need version history. It is the lowest barrier to entry, with conflict risk as the price.
Choose a Git-backed vault if you want full version history, free private storage, and a vault that AI tools and scripts can read and write. That is my pick, and it is the right one for anyone building automation on top of their notes, as long as you accept the rougher mobile experience.
That is genuinely the whole decision. Once you understand that a remote vault in Obsidian is just a local folder synced somewhere off your machine, the only real question is which kind of “somewhere” fits how you work.
If you are building toward an AI-readable knowledge base like I am, plain files in Git are hard to beat. If you just want your notes on two devices without fuss, pay for Sync and move on. Both are correct. They are just different bets on effort, money, and control.