
A vibe coding workflow is not just typing prompts and hoping the output works. Without structure behind it, vibe coding turns into a doom loop, one fix creating two new bugs, then two more fixes creating four.
I run most of my own build process this way, describing outcomes instead of writing every line myself. Here is the actual workflow that keeps it from sliding into that loop.
What vibe coding actually means
The term comes from Andrej Karpathy, describing a shift from writing every line yourself to collaborating with an AI tool through conversation, describing what you want instead of typing the implementation.
It is not the same as blind trust in whatever comes back. The workflows that actually ship production code treat the AI output as a first draft that gets reviewed, not a finished answer that gets merged.
Around a quarter of Y Combinator’s most recent batch had codebases that were 95 percent AI-generated. That is not a niche approach anymore, it is close to a default for early-stage teams moving fast.
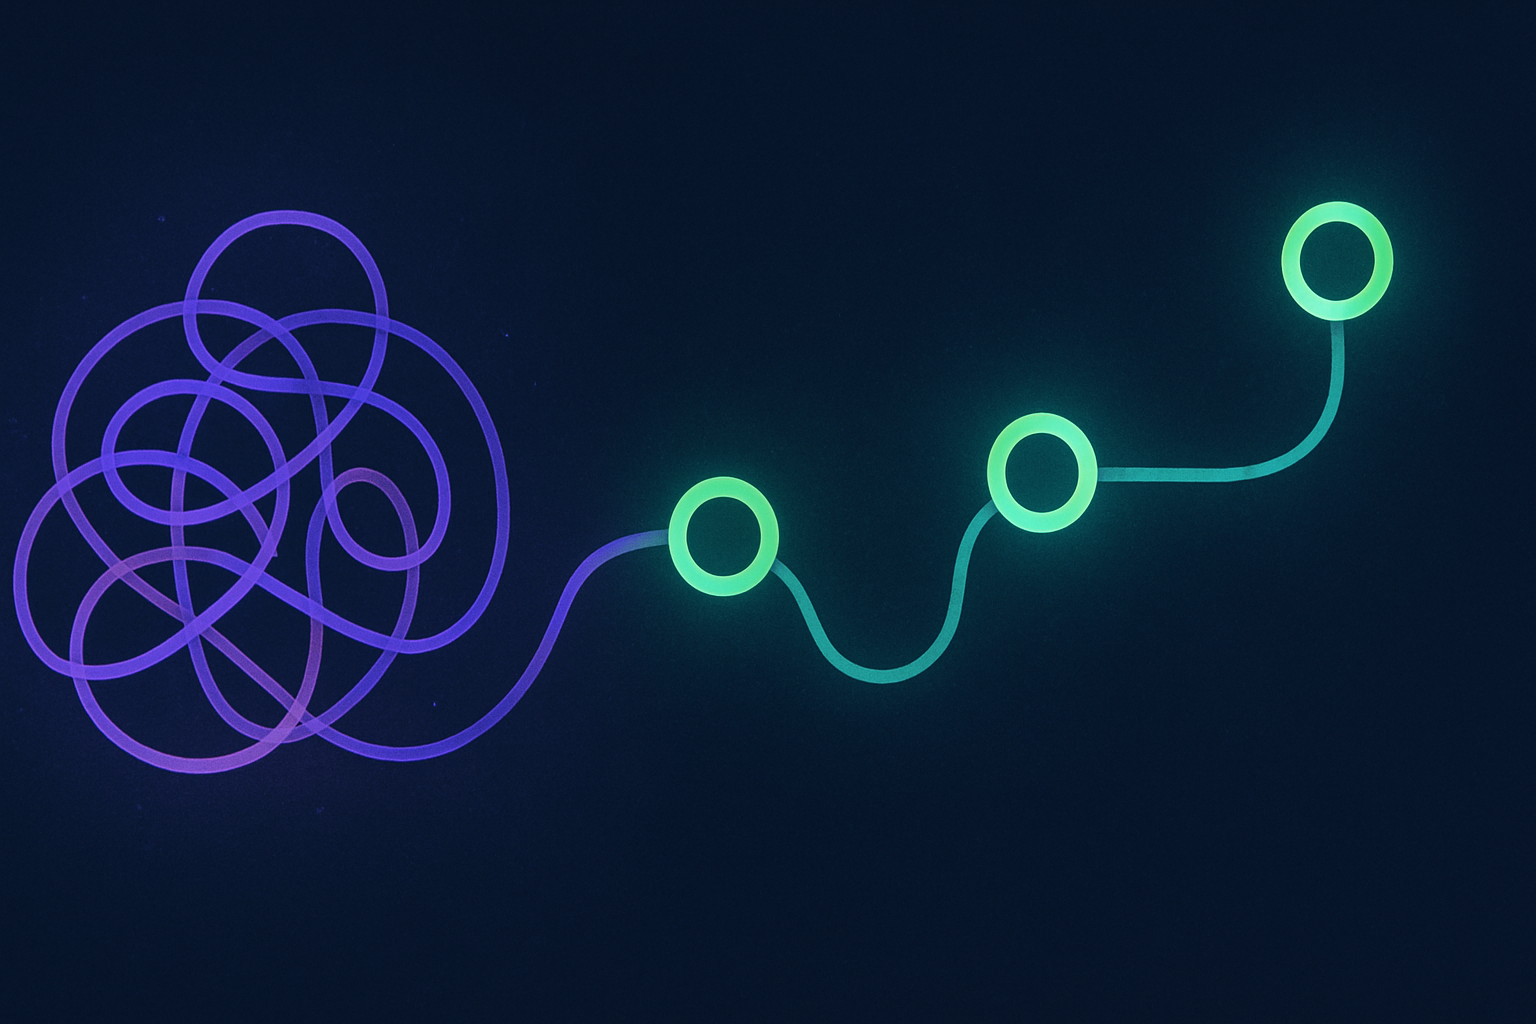
The doom loop is the failure mode worth naming up front, because it is the reason this workflow has steps instead of just being “describe what you want.” One fix creates a new bug, the fix for that bug creates two more, and an hour later you are further from working software than when you started.
Every step below exists to break that loop before it starts, not to slow down a process that would otherwise work fine on its own.
Step 1: plan before you prompt
The biggest mistake in vibe coding is skipping straight to prompting without a plan. Iterating in code costs far more than iterating on a plan, because a code change ripples into files you were not thinking about.
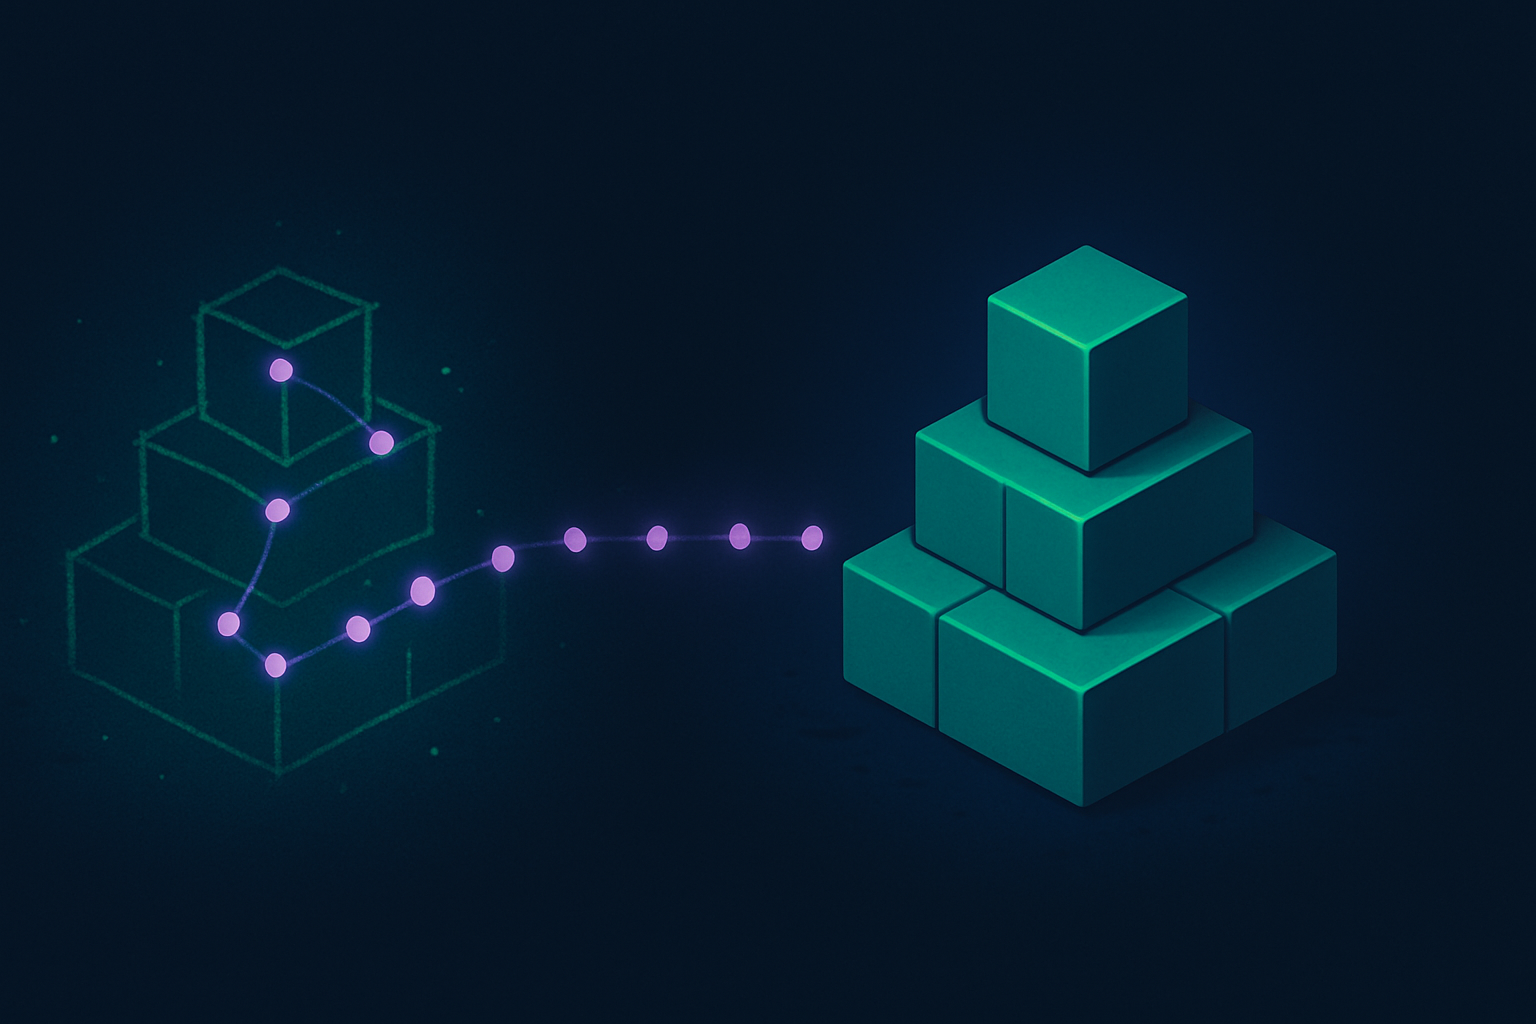
Before opening a prompt, sketch what you actually want. A quick wireframe, a rough workflow map, even a short written description of how the pieces connect. That sketch is not for the AI, it is for you, forcing clarity on what “done” actually looks like before you ask for it.
Step 2: give the AI real context, not just the ask
A prompt with no context about your stack, naming conventions, or architecture gets code that looks right and fits nowhere. Project-level context files, the kind tools like Cursor and Windsurf read automatically, list your tech stack, conventions, and schema.
That file means every prompt inherits the ground rules instead of restating them. Without it, every single prompt has to re-explain the same context, and the AI still guesses wrong more often than it should.
That is the same principle behind a Claude skill, a standing set of instructions Claude loads once a task matches instead of you retyping it every time. I go deeper on that distinction, and on when a task actually needs a full autonomous agent instead, in my breakdown of when to reach for a skill versus an agent.
This matters more as a project grows. A five-file prototype survives vague prompts fine. A codebase with real architecture and real conventions does not, and the gap between the two only widens over time.
Step 3: scope every prompt narrowly
“Modify only the task list component to add a filter for completed tasks” gets a clean, contained change. “Add filtering to the app” invites a cascade of edits across files that did not need to move.
Narrow scoping is the single highest-leverage habit in this entire workflow. A vague prompt does not just risk a wrong answer, it risks a right answer that touches five files you now have to review instead of one.
It also makes step 5, testing, actually manageable. A change scoped to one component has one obvious thing to test. A change scoped to “the app” leaves you guessing at what could have moved.
If a task genuinely needs multiple files touched, break it into separate prompts run in sequence rather than one prompt asking for everything at once. Reviewing three small changes in order beats reviewing one large change all at once, even when the total edit size ends up the same.
Step 4: commit before every AI change, not after
Version control is not optional here, it is the actual safety net that makes the rest of this workflow survivable. Commit a working state before asking the AI to make a change, every time, not just at the end of a session.
That habit turns “the AI broke something and I don’t know what” into a two-second diff against the last commit. Without it, you are debugging blind against a pile of unrelated changes.
Step 5: test the output immediately, not later
AI-generated code is plausible by design. It reads correctly, it passes a visual glance, and that is exactly why it is dangerous to trust without running it.
The problem is not that AI writes bad code. It is that a full function or component appears in one shot, skipping the incremental mental validation that happens naturally when you write each line yourself.
Run the feature the moment it lands. Check the functionality next to it that could plausibly have broken. Confirm nothing else moved before you write the next prompt on top of an untested one.
Skipping this step is exactly how a doom loop starts. One untested change gets built on, then built on again, until three prompts later nobody can say which change actually introduced the bug now showing up.
Testing immediately after each change keeps the blast radius of any single mistake down to one step, not five compounding ones you have to untangle after the fact.
Step 6: keep a decision log
A running record of what you asked, what came back, and why you accepted or rejected it sounds like overhead until the third time you ask “why did I change this data model” two weeks later with no memory of the reasoning.
This does not need to be formal. A running note in whatever tool you already use is enough, as long as it captures the why behind a change, not just the what.
Step 7: know where vibe coding should stop
The best workflows in 2026 combine vibe coding with traditional, hands-on development, not one replacing the other everywhere. Vibe coding is strong for scaffolding, repetitive boilerplate, and first drafts of a feature.
Security-sensitive code, performance-critical paths, and anything where a subtle bug has real consequences deserve manual attention, or at minimum a much slower, more deliberate review pass than a routine feature would get. A dedicated AI review layer helps here too, and I compared the options in my rundown of the strongest AI code review tools.
Knowing where to draw that line is a judgment call, not a rule a tool can enforce for you. It gets easier with practice, the same way knowing when to double-check your own hand-written code gets easier with experience.
The workflow above does not remove that judgment call. It just makes sure the parts that can be systematized, planning, scoping, committing, testing, actually are, so your judgment goes toward the decisions that genuinely need it.
How this fits my own Tandri workflow
My actual stack runs this pattern constantly, describing an outcome, letting an AI agent handle the implementation, then reviewing before anything ships.
The difference from a chaotic vibe coding session is entirely in the structure around it. The plan first, the narrow scoping, the commit discipline, the review layer after.
I run that final review as multiple independent passes rather than a single check, the same Loop Engineering process I use for content and structural decisions, not just code. Each pass is told to find flaws, not approve the work, then a separate pass reconciles the verdicts.
I broke that mechanism down fully in Claude subagents, including how the scoping and reconciliation actually work in practice.
The workflow above is not a set of separate rules. It is one discipline, applied consistently, that turns a fast but chaotic way of building into a fast and reliable one.
Vibe coding workflow, quick answers
What is vibe coding? Building software by describing what you want in conversation with an AI tool instead of writing every line of implementation yourself.
Is vibe coding safe for production code? It can be, with structure around it, planning before prompting, narrow scoping, frequent commits, and immediate testing. Without that structure, it is not.
Do I still need to know how to code? Yes. Reviewing AI output, catching a plausible-looking bug, and knowing where to draw the manual-review line all require the underlying skill, even if you are typing fewer lines yourself.
What tools support vibe coding workflows? Cursor and Windsurf are common editor-based options; terminal-native agents like Claude Code fit a more autonomous, hand-off style of the same underlying workflow.
Should I vibe code everything? No. Scaffolding and repetitive work fit well. Security-sensitive and performance-critical code deserve slower, more deliberate handling regardless of how the rest of the codebase gets built.
How do I avoid the doom loop specifically? Commit before every change and test immediately after each one. Most doom loops trace back to skipping one of those two habits under time pressure, not to a flaw in the workflow itself.
Where this actually runs
This is not a workflow I read about and adapted. It is the actual process behind how softDev23 gets built day to day, plan, scope, commit, test, and an independent review layer before anything ships.
If you want to see the full system this runs inside, join the Tandri waitlist.